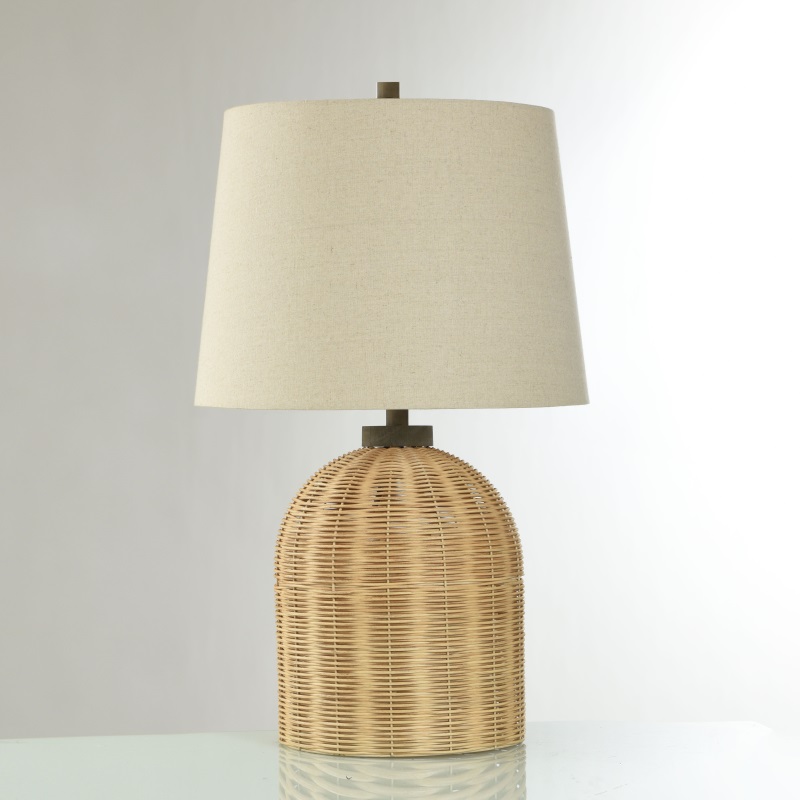
Wiring a Table Lamp
Wiring a table lamp may seem complicated, but with the right guidance, it's actually a simple DIY project. Whether you're repairing an old lamp, customizing a new one, or simply replacing a worn-out socket, understanding the basics of table lamp wiring is essential. This guide from Lighting Awesome Light will walk you through the entire process step-by-step, ensuring a safe and smooth experience. We'll cover everything from identifying the tools you need to correctly connecting the wires. Don't let a broken table lamp ruin your home's ambiance—let's get started!
1. Why You Might Need to Rewire Your Table Lamp
You might need to rewire for a variety of reasons. Perhaps you inherited a beautiful antique lamp, but the wiring is damaged and poses a safety hazard. Or maybe you want to add a dimmer switch or USB port to your existing lamp for more functionality. Sometimes, the original wiring ages over time, causing the light to flicker or even fail completely. Whatever the reason, rewiring is an affordable way to give your beloved table lamp a new lease on life.

2. Essential Tools and Materials
Before you begin wiring, prepare the necessary tools and materials. This will ensure the project proceeds smoothly and efficiently. Here is a list of items you will typically need:
1) Screwdrivers: Both Phillips head and flathead screwdrivers are essential for tightening and loosening screws.
2) Wire strippers: These are key tools for safely removing wire insulation without damaging the copper wire.
3) Pliers: Needle-nose pliers help manipulate wires in confined spaces.
4) Electrical tape: Use electrical tape to insulate joints and prevent short circuits.
5) Wire connectors (wire nuts): Used to securely connect wires together.
6) New lamp wire: Choose a lamp wire that matches the specifications and length of your lamp.
7) New lamp holder: Replacing the lamp holder is often necessary, especially when it is damaged or corroded.
8) Safety glasses: Protect your eyes from debris. 9) Voltage Tester: Before starting to repair the table lamp, it is essential to use a non-contact voltage tester to ensure that the lamp is not powered.
3. Step-by-Step Wiring Instructions
Now, let's get straight to the point: wiring the lamp.
1) Safety First: Before starting, unplug the table lamp. Use a voltage tester to confirm that the lamp is not powered. Safety first!
2) Disassemble the Lamp: Carefully disassemble the table lamp, removing the lampshade, lamp holder (if any), and old lamp base. Note the connections of the old wiring—this will be helpful later.
3) Prepare the New Wire: Thread the new lamp wire through the lamp base, all the way to the base. Carefully strip about 3/4 inch of insulation from the ends of both wires with wire strippers.
4) Connect the Wire to the Lamp Base: Most lamp bases have two screws: a brass screw and a silver screw. The "live wire" (usually black or brown) should be connected to the brass screw, and the "neutral wire" (usually white or blue) should be connected to the silver screw. 5) Reassemble the lamp: Carefully reassemble the lamp, ensuring all connections are secure and no wires are squeezed or exposed.
6) Test the lamp: Plug the lamp back into the power outlet and turn it on. If the lamp lights up, congratulations! You have successfully reconnected the lamp wiring. If the lamp does not light up, carefully check all wiring and ensure the bulb is working properly.
4. Advanced Wiring Techniques
In addition to the basics, you may encounter some advanced wiring techniques:
1) How to connect a lamp with a dimmer switch: Installing a dimmer switch adjusts the brightness of the lamp. Dimmer switches typically have three wires: one for the power supply, one for the lamp, and sometimes a ground wire. When connecting a dimmer switch, always carefully read and follow the manufacturer's instructions. 2) How to connect a two-bulb table lamp: Connecting a two-bulb table lamp requires connecting the two bulbs in parallel. This means each bulb receives the same voltage. You need to connect the "live" wires of both bulbs to the "live" wire of the lamp wiring and the "neutral" wires of both bulbs to the "neutral" wire of the lamp wiring.
3) How to connect a table lamp with a three-way switch: A three-way switch is used to control the same lamp from two different locations. Connecting a table lamp with a three-way switch is more complex and requires a thorough understanding of electrical circuits. If you are unfamiliar with this type of wiring, it is best to consult a qualified electrician.
4) How to add a USB port to a table lamp: Adding a USB port to a table lamp allows for convenient charging of your devices. You will need a USB charging module and a method for integrating it into the table lamp wiring.
5. Troubleshooting Common Problems
Even with careful wiring, some problems may occur:
1) The light does not turn on: This may be due to loose wiring, a faulty bulb, or a problem with the power outlet. Carefully check all wiring connections and try replacing the bulb.
2) The light flickers: Flickering may be caused by loose connections, damaged wires, or a faulty outlet. Inspect the wiring and replace any damaged parts.
3) The table lamp is causing the circuit breaker to trip: This indicates a short circuit. Immediately unplug the table lamp and check the wiring for exposed wires or loose connections.
6. Choosing the Right Components
When rewiring, choosing high-quality components that meet safety standards is crucial. Choose lamp wires and sockets with UL or ETL certifications, indicating they have undergone safety testing and certification. When selecting replacement components, consider the style of the table lamp. For older table lamps, fabric wiring and antique-style sockets are recommended to maintain the lamp's original look. For modern table lamps, simple and stylish components are preferable. Awesome Light offers a variety of high-quality table lamp wiring components to meet your different needs.
Following this guide, you can confidently complete your next table lamp rewiring project. With a little patience and attention to detail, you can restore your beloved table lamp to its former glory and enjoy reliable lighting for years to come.