Make a Table Lamp
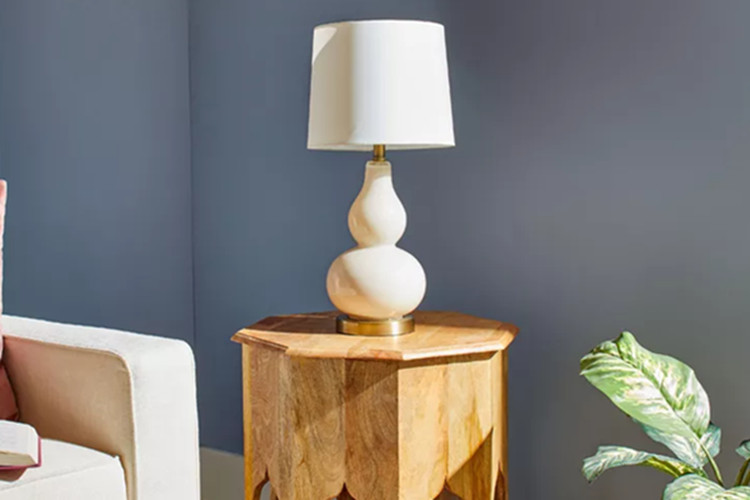
A home can't function properly without light, and beautiful table lamps don't have to be expensive. With just a hardware store kit and lampshade, you can transform any large container into a unique table lamp.
1. Tools:
* Pliers
* Screwdriver
* Drilling if needed
2. Materials:
* Base can be a bottle, jar, or basket.
* Sand or heavy objects
* Candlestick conversion kit (lamp kit) or kit including socket and wire, plug, threaded hollow rod, and brass sheath
* Lamp stand
* Lampshade
* Light bulb
* Silicone adhesive if needed
3. Time: 15 minutes to half an hour.
4. Table Lamp Making Process
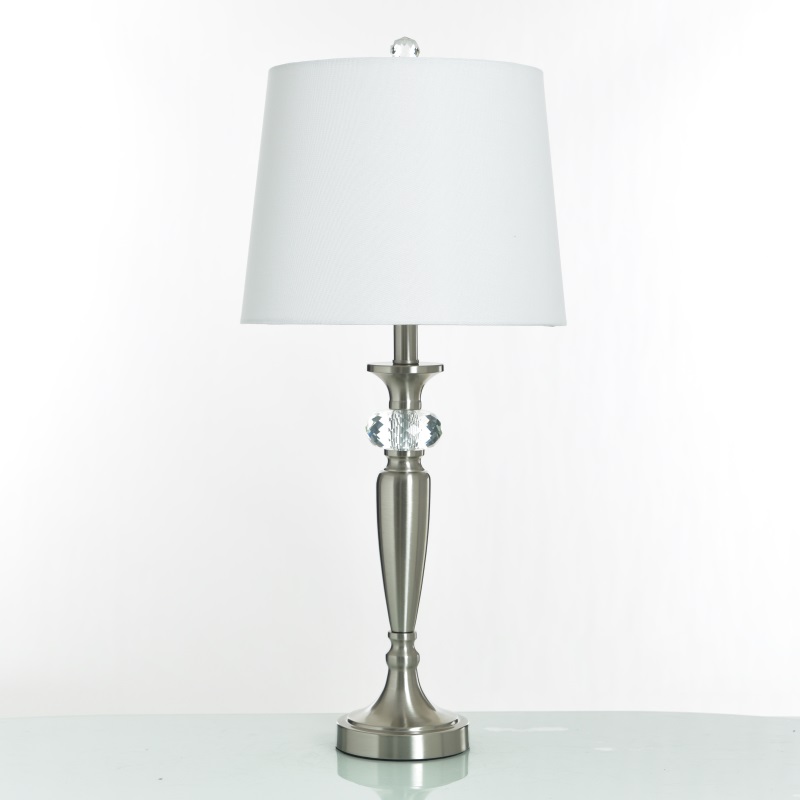
1) Making the Lamp Base
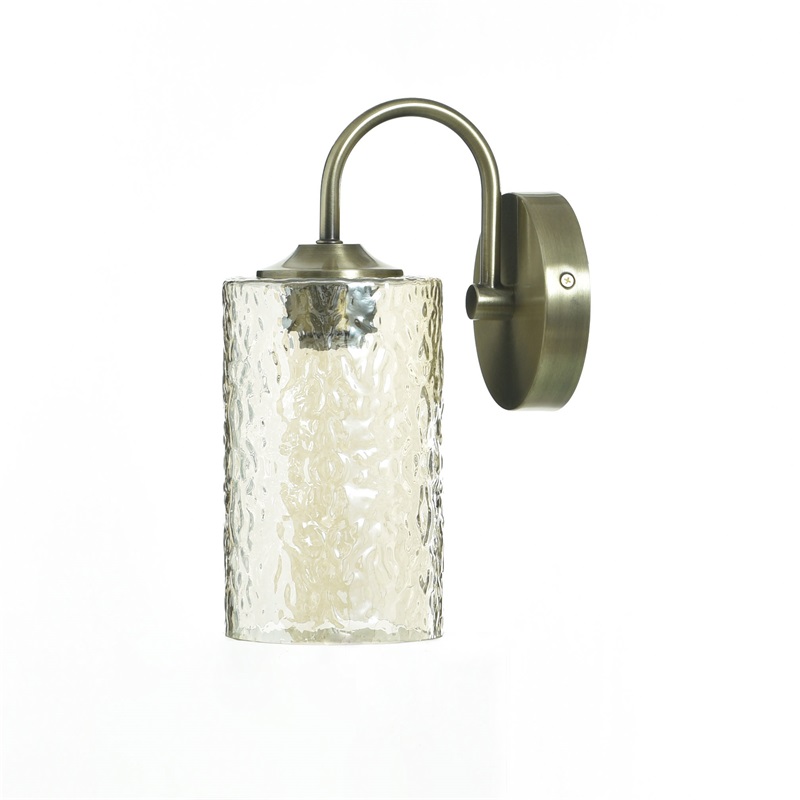
You can choose any container you like for the lamp base—a large wine bottle is ideal, especially a sturdy corrugated glass bottle or a glass jar with a basket. Large jars, earthenware or ceramic pots, milk jugs, or woven wicker baskets are also good choices. The table lamp base must be sturdy. If the container is opaque, you can fill it with sand or weigh it down with bricks or lead weights. If using a transparent container, you can fill it with anything you like—shells, pebbles, buttons, matchboxes, layers of sand, dried beans, or anything else you prefer. Make sure the filling is heavy enough to keep the lamp base stable.
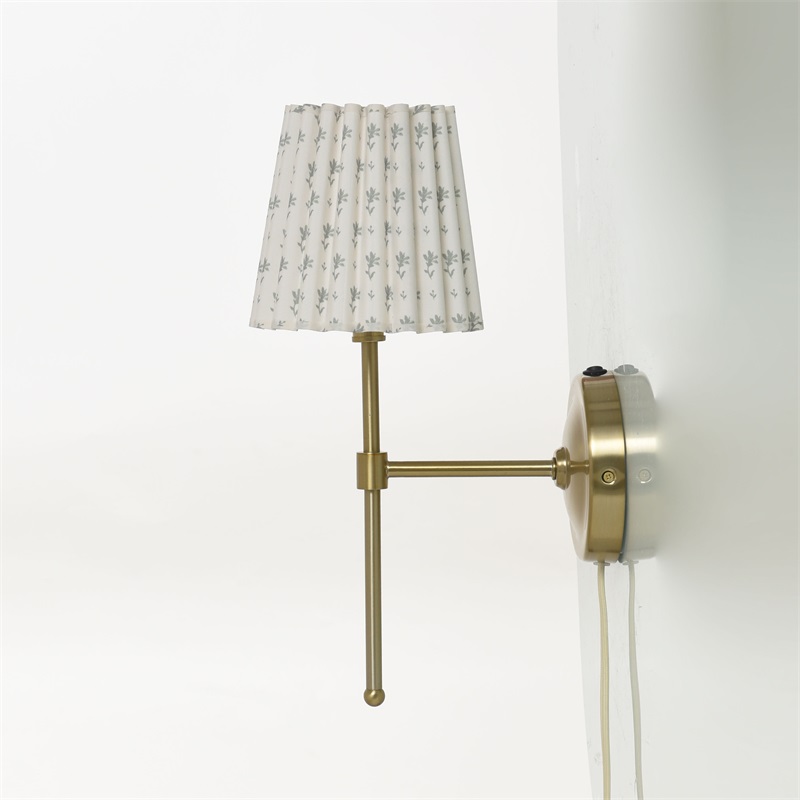
2) Making the Lamp Body
The type of container you use determines which lamp kit or electric candle conversion kit you should buy. For easy wiring, or for solid containers, buy a kit that can be directly inserted into the opening at the top of the container—choose a standard type or a kit specifically for kerosene lamps. The wire in this type of kit connects to the top of the container without drilling. If you are using a non-solid container, such as a wicker basket, you will need to purchase the lamp components separately: lamp base and wire, plug (clip plugs are most convenient), threaded hollow rod (length depends on the desired lamp height), brass sheath, and lamp stand. This component is not a kit, but assembling it is almost as simple.
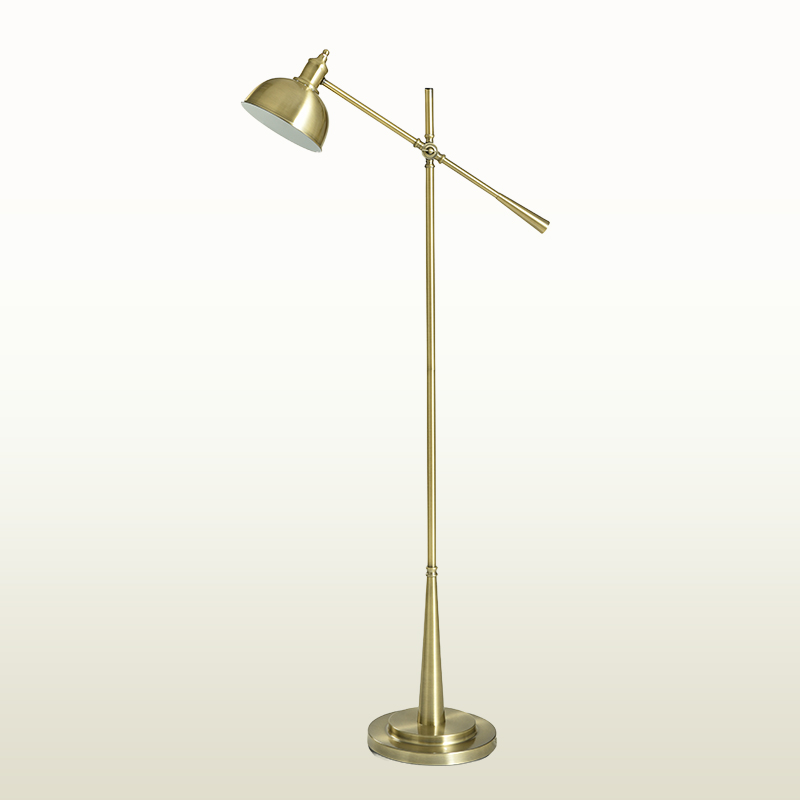
3) Wiring the Long Pole
When using a long pole, the wire runs through the pole and connects to the bottom of the container; you will need to drill a hole in the bottom to pass the wire through. If you are using a plug-in lamp set, add weight to the table lamp holder before wiring. Assemble the terminal blocks according to the manufacturer's instructions. The set includes several rubber plugs of different sizes; find the one that best fits the opening at the top of your container. Screw the connector of the terminal block or pole into the center of the rubber plug and tighten. Screw the brass washer and lock nut to the bottom of the pole; screw the lamp holder to the other end. Insert the assembled terminal block into the counterweight container with the socket end facing up, and then push the plug firmly into place. This completes the wiring of the lamp.
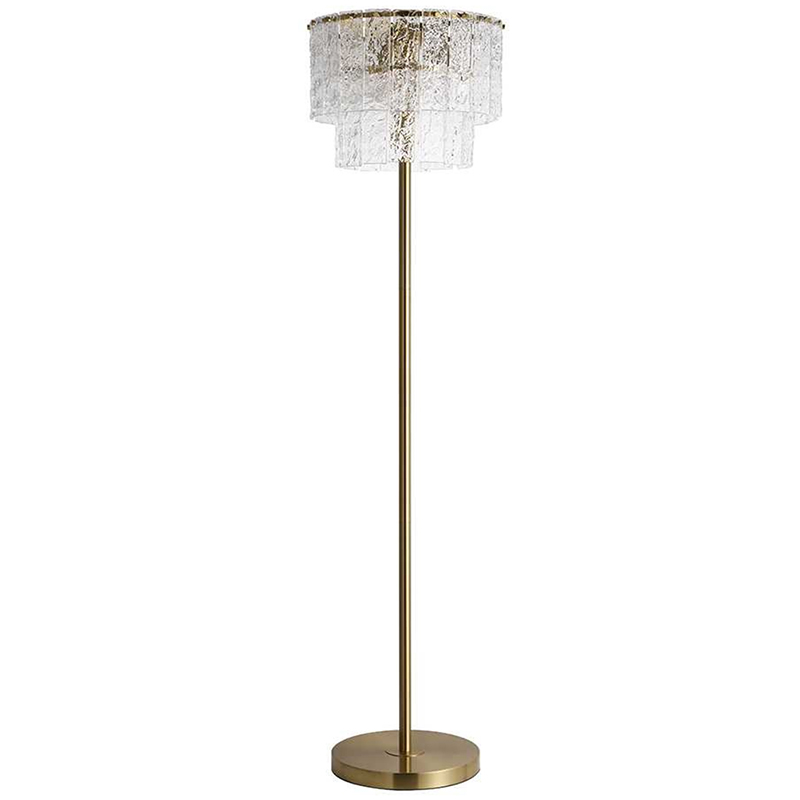
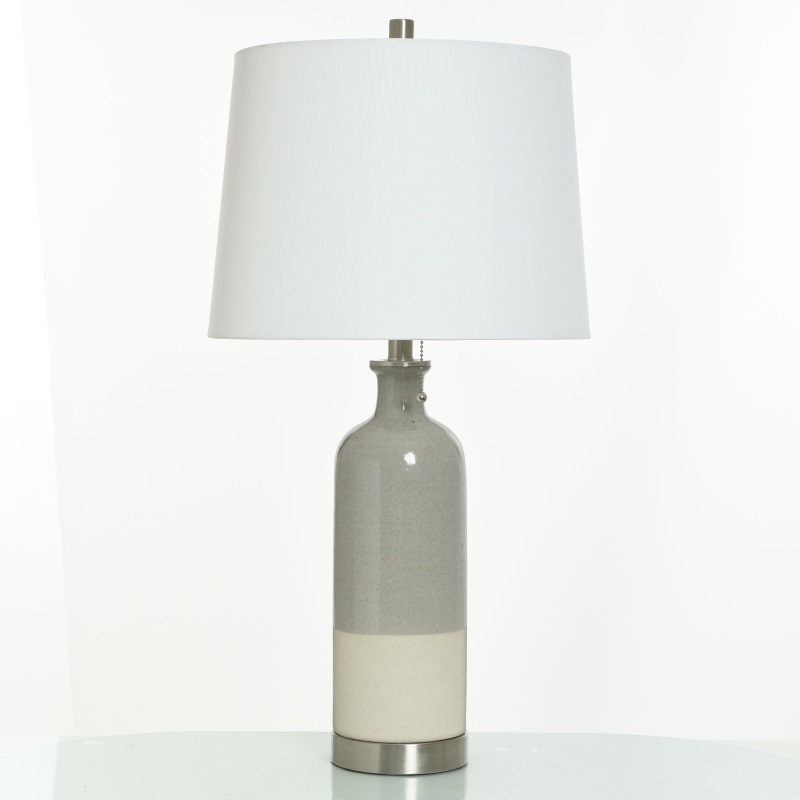
4) Installing the Table Lamp Shade
To install the lamp shade (choose any shade that matches the lamp holder), first install the lamp holder, which is a threaded metal fitting. Install the lamp holder onto the lamp holder according to the manufacturer's instructions. Then, unscrew the lock nut at the top of the table lamp holder, place the lamp shade into the lamp holder, and screw the lock nut back on. Finally, screw the bulb into the lamp holder and plug it into a power source.
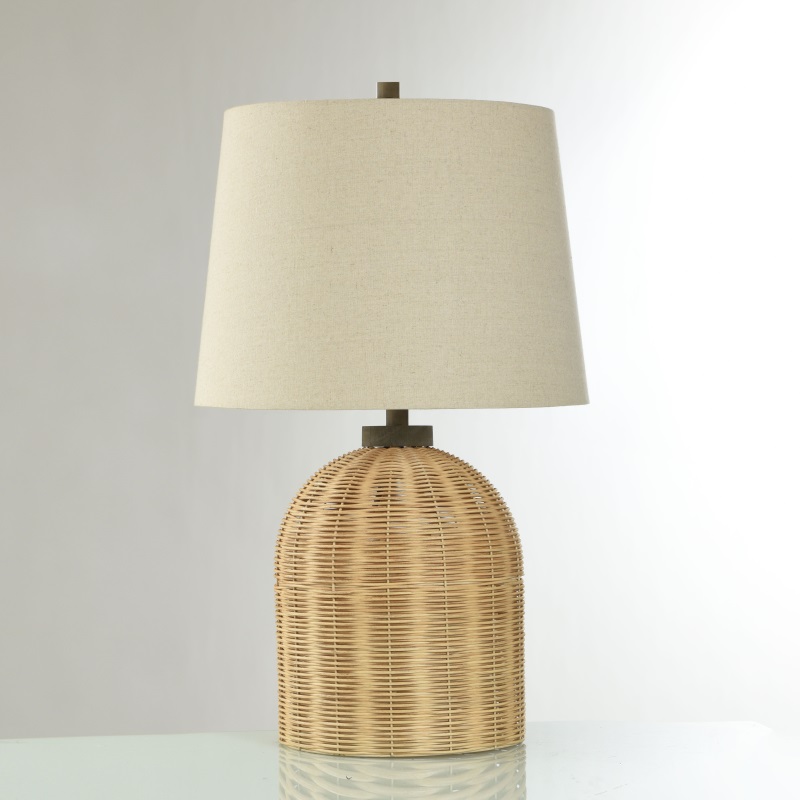
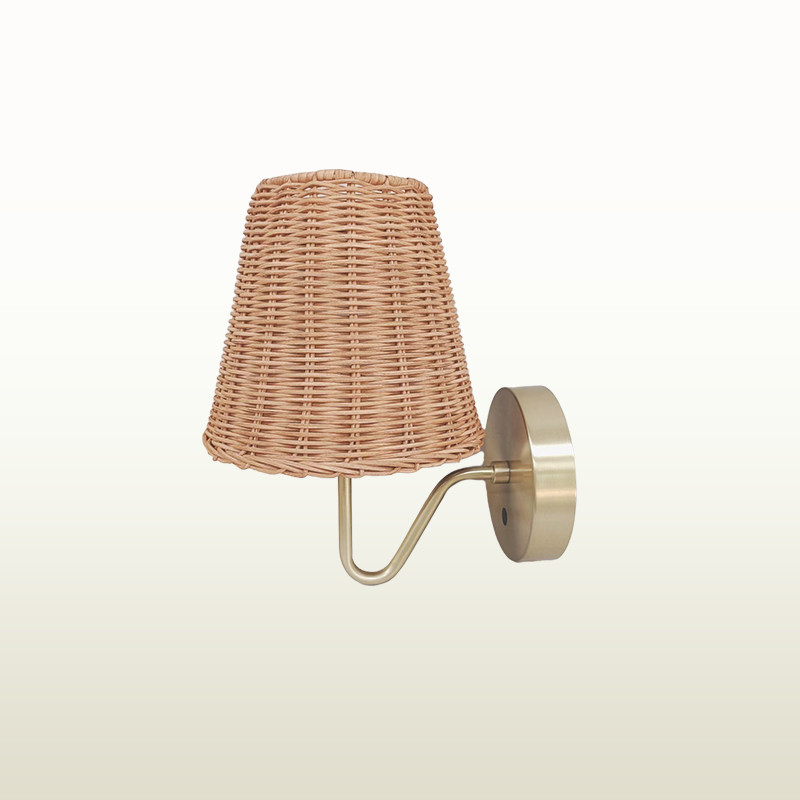
5) Wiring with a Wicker Basket and Long Threaded Rod
If you are using a wicker basket and long threaded rod to wire the table lamp, first drill a hole in the bottom of the basket for the threaded rod and wire to pass through. If necessary, drill another hole in the basket lid for the top of the threaded rod to pass through. The hole should be large enough to accommodate the threaded rod itself (bottom) and the brass sheath of the threaded rod (top). When assembling the parts, thread the plug end of the power cord through the rod and pull it out. Secure the socket at the top of the rod with the provided locking screw. Fit the brass sheath onto the rod, aligning it with the socket at the top. Tie a loose knot in the rope near the bottom of the lamp post to reduce tension on the rope. Then place the lamp post into the basket and pull the rope out from the opening at the bottom of the basket. To secure the lamp post to the base, apply a ring of silicone adhesive to the bottom of the basket. Cover the lamp post with the basket lid and secure the lamp post to the opening with silicone adhesive. To complete the table lamp, add weight to the base as before. Make sure to use a heavy object that won't fall out of the basket. Then, following the manufacturer's instructions, clip the plug to the end of the wire. Finally, following the steps above, add the lamp holder, lampshade, and light bulb to complete the table lamp.