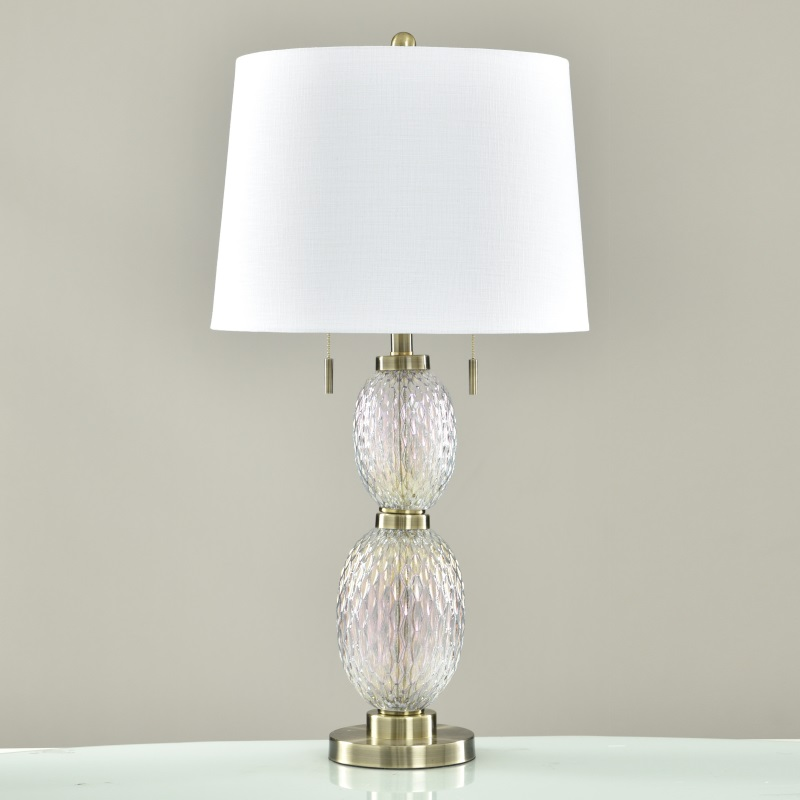
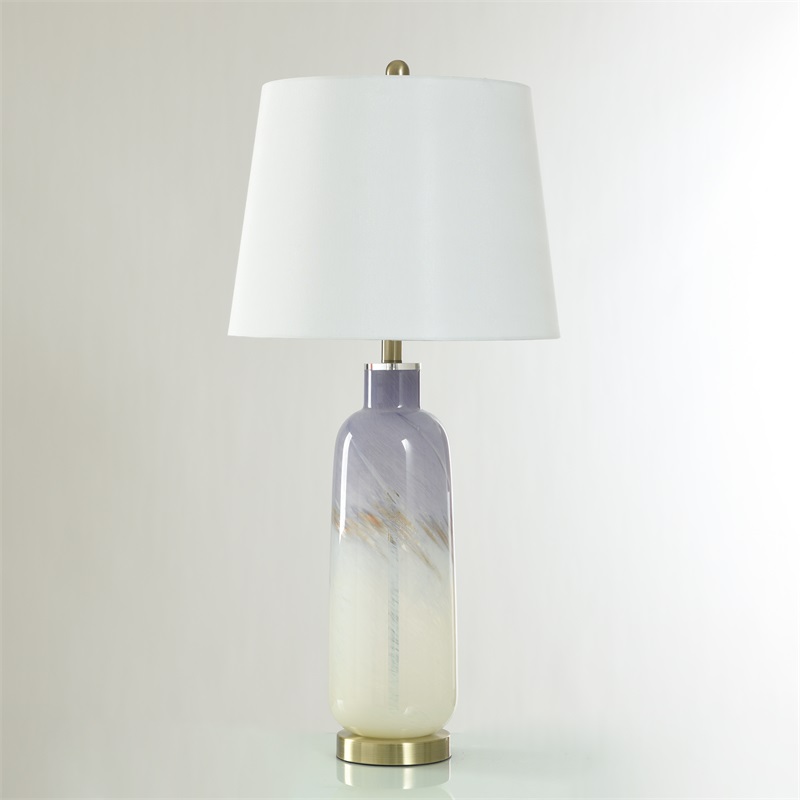
Table Lamp not Working
Table lamps are very practical. They provide plenty of light so you can work on a variety of surfaces.
At Awesome Light, we know that if you don't use a table lamp, I'd love to know how you cook, read, or write in the comfort of your own home. Table lamps provide more powerful and direct light, thus helping to protect your eyes.
Unfortunately, table lamps are prone to problems over time. When most people encounter this situation, they will just throw it away and replace it with a new one.
In fact, repairing a table lamp is usually not difficult. The problem often lies with a specific part of the light fixture. If you want to save some money and take better care of your table lamp, you've come to the right place.
Read on to learn how to repair a table lamp!
1. Check the light bulb first
If you haven’t checked your bulbs yet, do so! If a bulb becomes damaged or deteriorates, it is very simple to replace.
Be sure to disconnect the table lamp from the power source. After disconnecting the power, simply unscrew the bulb and install a new one of the same model.
If the new bulb lights up after you plug it in, the problem is solved!
However, if it doesn't come on, there's something else wrong with your light. If this is the case, there is only one solution: keep reading!
2. Disassemble your lamp
Step 1: Unplug the plug from the wall outlet
First, always make sure the table lamp is completely unplugged from the power source. Getting an electric shock while repairing a table lamp would be terrible!
Once you've unplugged the plug from the wall outlet, you're ready to proceed to the next step.
Step 2: Deal with the easily disassembled parts first.
The lampshade, lampshade holder or stand, and bulb are the most easily removable parts of a table lamp. With most table lamps, it can be removed with just a twist.
However, if you have trouble removing these parts, try looking for a manual or consulting the manufacturer.
Step 3: Inspect and remove the socket housing
Most common receptacles actually have labels on the housing that indicate where to begin disassembly.
Typically, you'll need to pinch the bolts on both sides of the sticker. Once you've pinched the bolts, the lamp housing should come loose and you can slide it up and away from the lamp.
If this doesn’t happen with your lamp, don’t despair! There are a few different methods, but most are simple. You may need to unscrew a screw or bolt, but regardless, it should be easy to find the cause.
If you encounter problems, you can try to seek help from experienced people. If you really can't find anyone to help, you may need to contact the manufacturer who originally sold you the product.
Step 4: Unplug the outlet switch and remove the wires
Before doing anything else, look at the screws that secure the outlet switch.
* If you notice they are loose before you do anything, then that may be the problem.
* Tighten the screws and reassemble the lamp.
* Try plugging it in and see if it feels better now.
* If it still doesn't work, or the screws are already tight, continue to loosen the screws and pull up on the outlet switch.
* You don't need to remove the outlet switch - just expose the wires inside.
* Once you see the wires, check where each wire is connected.
* There should be two wires.
* One of the wires is black and should be connected to the brass screw.
* The other one is the white wire that should be connected to the silver screw.
* Assuming your table lamp was working properly before any problems occurred, these wires should be connected correctly at this point.
Before removing the wires, pay attention to where they are connected.
Step 5: Identify the problem and replace
Now that you have completely disassembled the lamp, you can check which part is damaged. If none of the above problems occur, check each component one by one for damage.
Once you find the damaged part, you can take it to the manufacturer and purchase a new one. Since you only need to replace one part rather than buying an entire new lamp, it shouldn't cost too much.
Now that you have your new parts, just reassemble the lamp and enjoy its bright light again!
3. Repair damaged power cord
If the problem is in the wiring of the power cord, you may not even need to replace the entire cord. If you can see the damaged portion of the line, simply cut that portion off.
If the problem is in the wiring of the power cord, you may not even need to replace the entire cord. If you can see the damaged portion of the line, simply cut that portion off.
Once you've completed the above steps, you'll want to peel off about an inch of the wire's covering so that the end of the wire is exposed again.
Now, you just need to reconnect the wires to the outlet switch and your power cord will be working properly again.
If you still can’t repair your table lamp after following all the tips and instructions above, then you should definitely take it to a professional to have it checked.
Even if you can't fix it yourself, it's still possible for a professional to fix it.