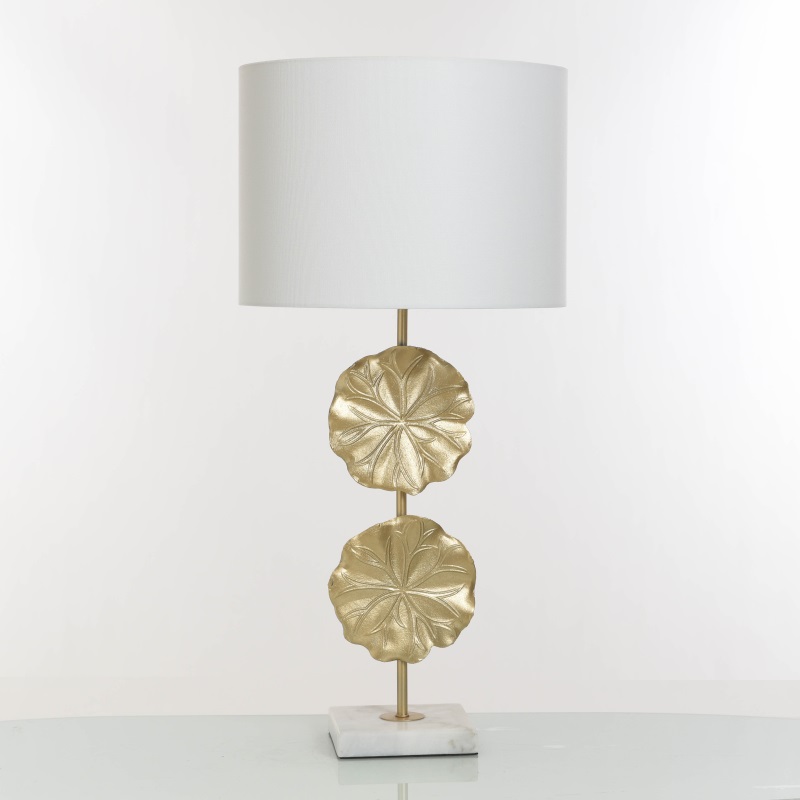
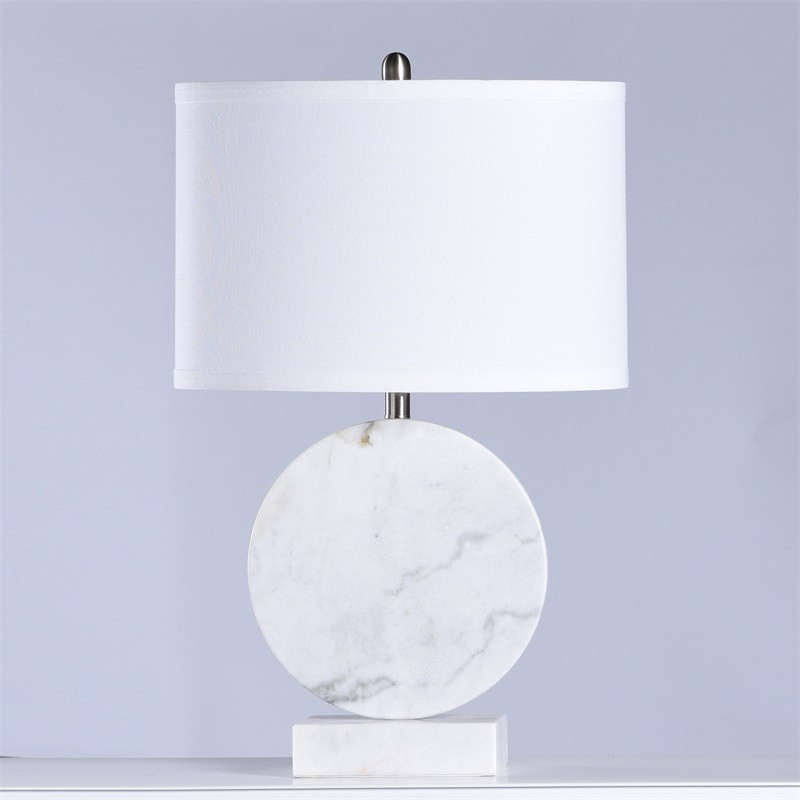
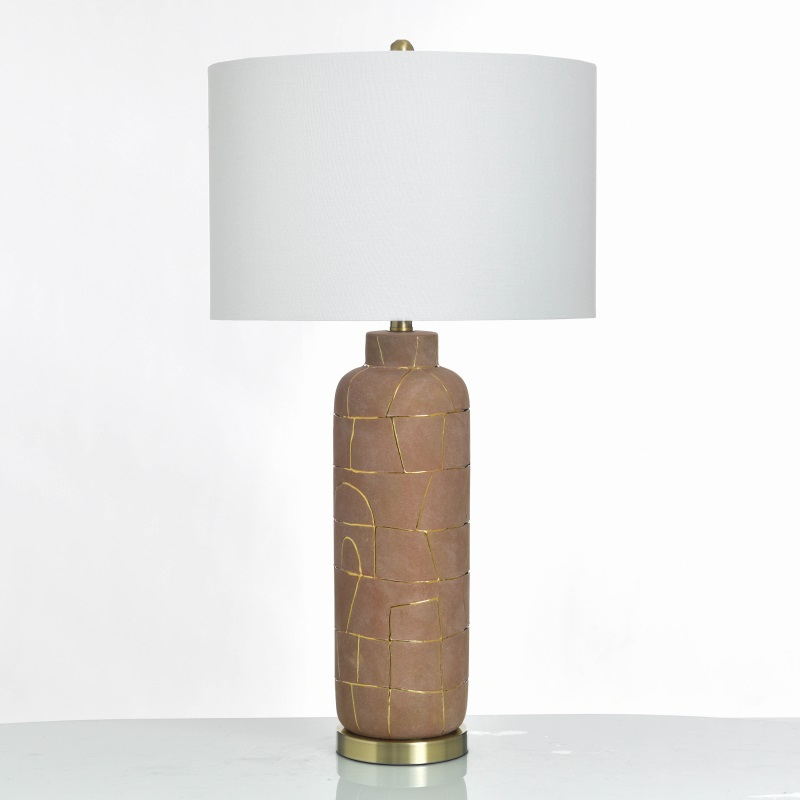
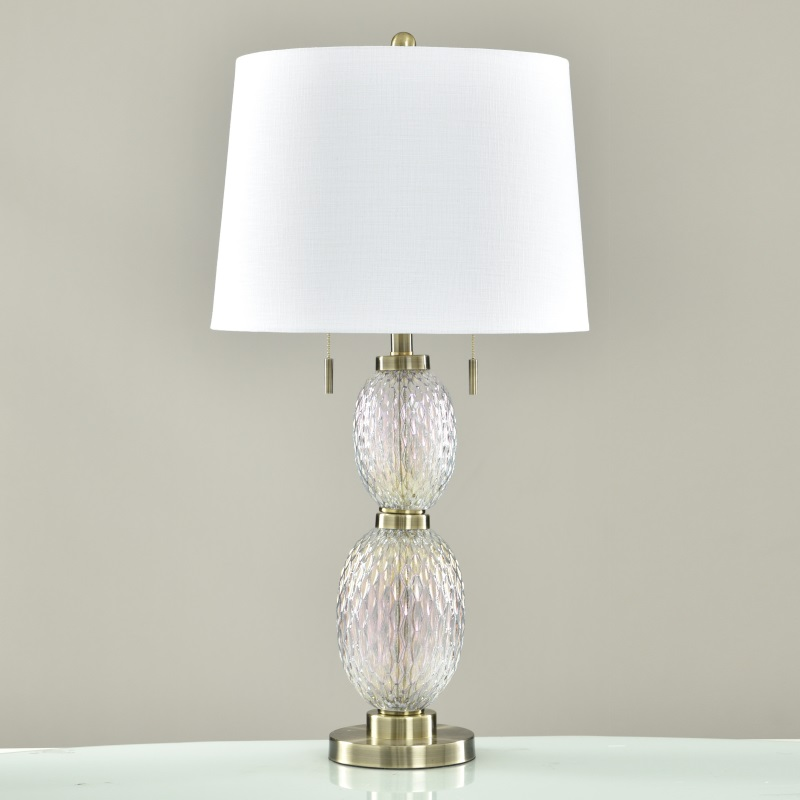
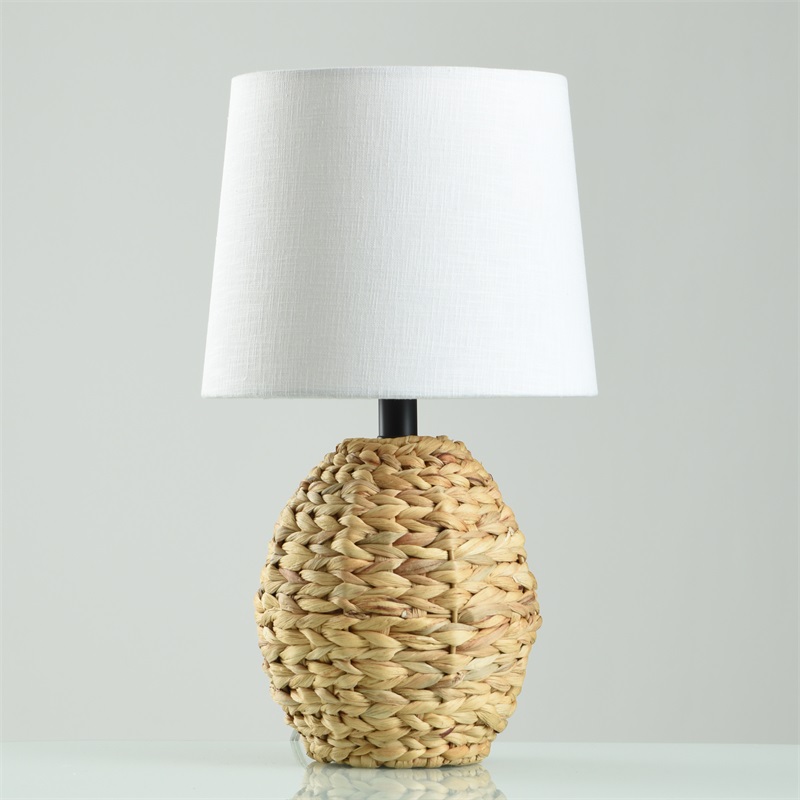
How to Fix a Table Lamp?
This is a comprehensive, step-by-step guide to troubleshooting and repairing a standard table lamp.
Safety First: Always unplug the lamp before performing any inspections or repairs. Never work on the lamp while it is connected to a power source.
Tools You May Need
* Spare light bulb
* Screwdrivers (flathead and Phillips)
* Wire strippers
* Electrical tape
* Replacement parts (as needed: power cord, socket assembly, or switch)
* Multimeter (optional, for testing circuit continuity)
Step-by-Step Troubleshooting and Repair
Step 1: Check the Basics
Before disassembling any parts, rule out the simplest issues:
* Ensure the lamp plug is securely inserted into the outlet.
* Test the wall outlet with another device (such as a phone charger) to confirm the outlet itself is working properly.
* Test with a bulb known to be functional. Check the maximum wattage rating on the socket (e.g., "Max 60W") and do not exceed this limit.
Step 2: Inspect the Power Cord
* Examine the entire power cord for signs of fraying, cuts, kinks, or damage from pets chewing on it.
* Inspect the plug for loose prongs, cracks, or scorch marks.
* Solution: If the power cord is damaged, the safest course of action is to replace the entire cord rather than attempting to splice it with electrical tape, as damaged cords pose a serious fire hazard.
Step 3: Test the Switch
* Pull-chain switch: If there is no distinct "click" when pulling the chain, or if it feels completely loose, the internal mechanism may be broken.
* Rotary knob switch: If the knob spins freely without engaging the switching mechanism, it needs to be replaced.
* Solution: Switches are often integrated directly into the socket assembly. Replacing the entire socket assembly is usually the easiest, most cost-effective, and most reliable repair method.
Step 4: Replace the Socket (Most Common Repair)
If the bulb, socket, and power cord are all in good condition, the problem likely lies with the socket itself. Damaged sockets, worn-out switches, and loose connections are the most common issues encountered when repairing table lamps.
1. Unplug the lamp and remove the bulb, lampshade, and harp (the metal frame that supports the shade).
2. Remove the socket shell: Squeeze the sides of the metal shell and pull upward, or unscrew the cap at the base of the socket.
3. Loosen the terminal screws: You will see two (sometimes three) terminal screws inside. Note the original wiring configuration:
* The ribbed wire (neutral) connects to the silver screw.
* The smooth wire (hot) connects to the brass-colored screw.
* (If there is a bare copper ground wire, it connects to the green screw).
4. Remove the old socket: Untie the "Underwriter’s knot" (a simple safety knot used to prevent the cord from being pulled out) and detach the wires from the socket.
5. Install the new socket: Thread the cord through the base of the new socket. Tie a new safety knot (Tip: search online for "how to tie an Underwriter's knot for lamp" to find a quick 30-second illustrated tutorial).
6. Connect the wires: Wrap the ribbed wire clockwise around the silver screw and the smooth wire clockwise around the brass-colored screw. Tighten the screws securely. Ensure no bare wire is exposed outside the terminals.
7. Reassemble: Slide the socket shell back into place and snap or screw it securely shut.
Step 5: Test the Lamp
* Before reinstalling the harp and lampshade, plug in the lamp and turn it on to verify the repair was successful.
* If the lamp works correctly, turn it off, unplug it, and finish the assembly.
When to seek professional help
* The table lamp is a valuable antique or features complex, non-standard wiring.
* The lamp socket is cracked or damaged, potentially compromising electrical safety.
* You feel uneasy or unsure about handling electrical components.
Note: If replacing the power cord of a table lamp that has a three-prong plug, ensure the ground wire is correctly connected to the lamp's metal frame to prevent electric shock.