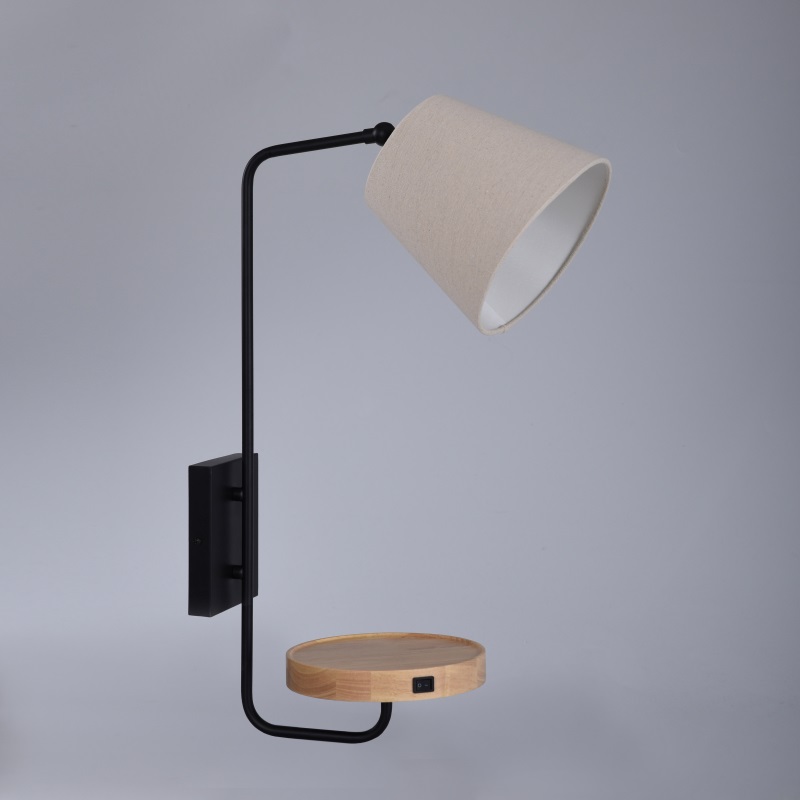
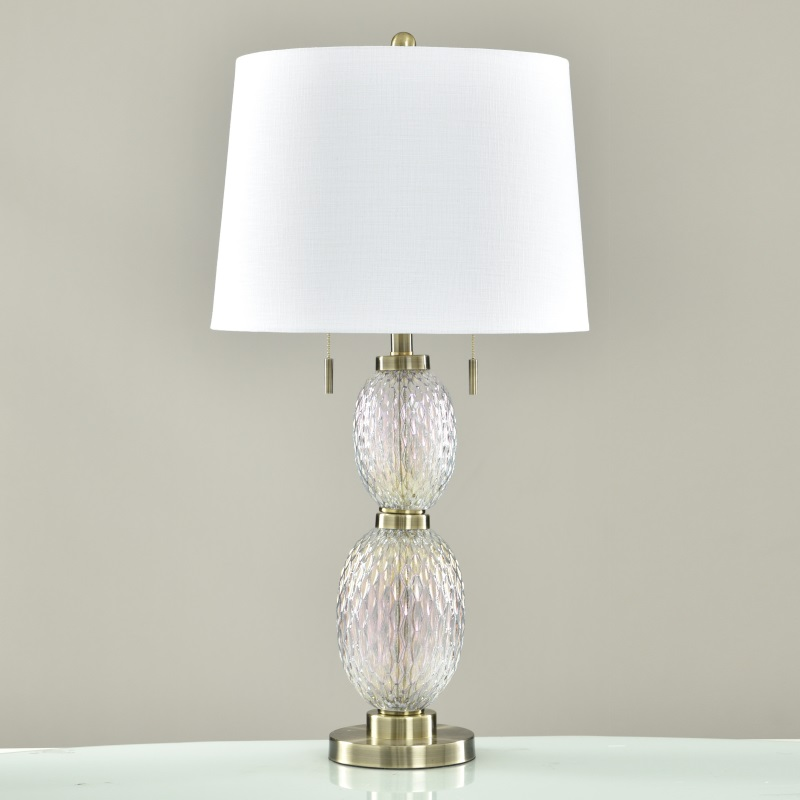
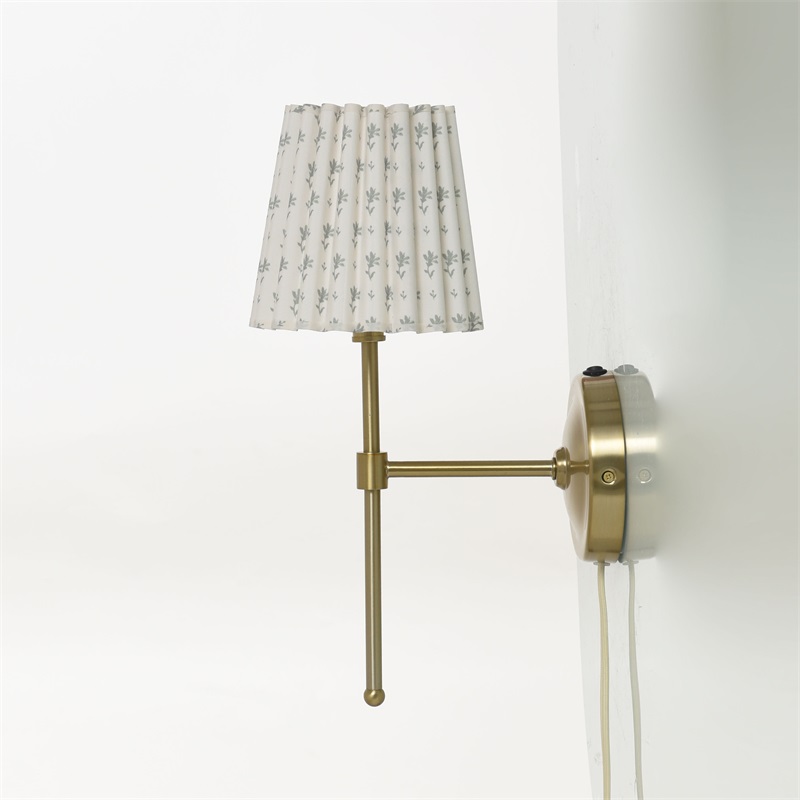
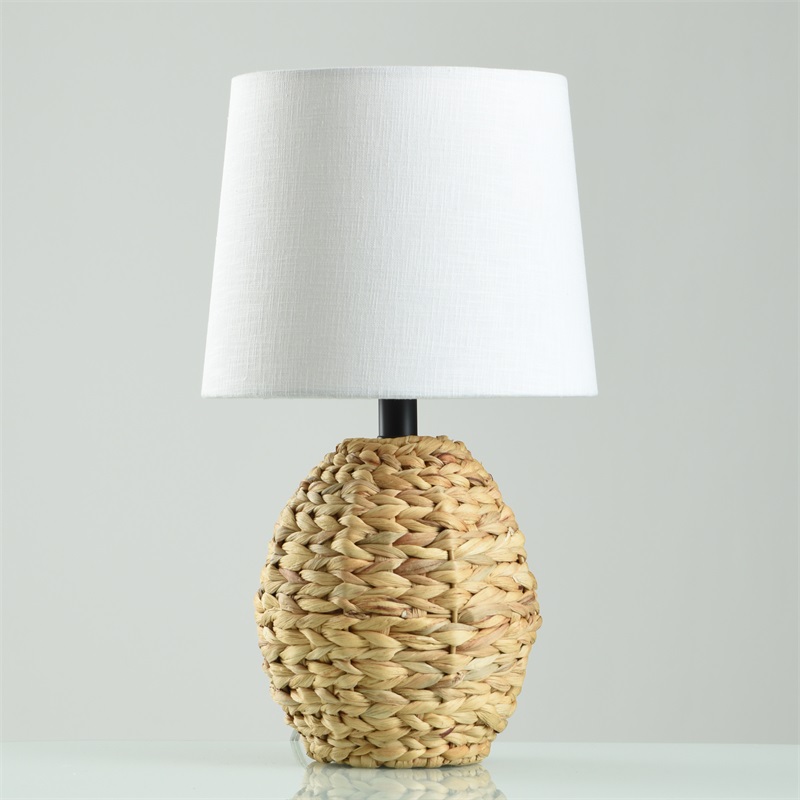
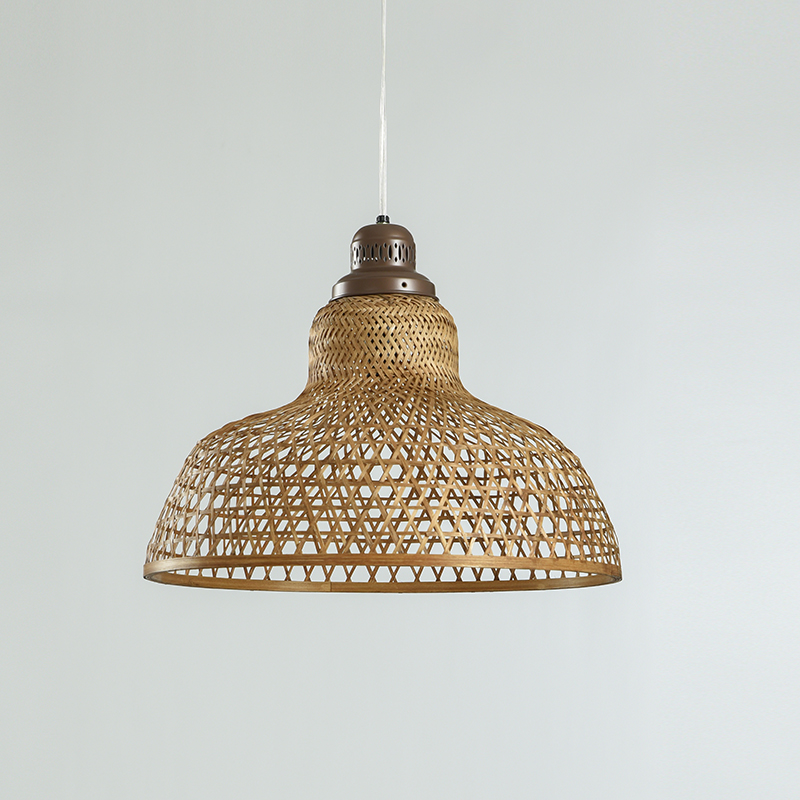
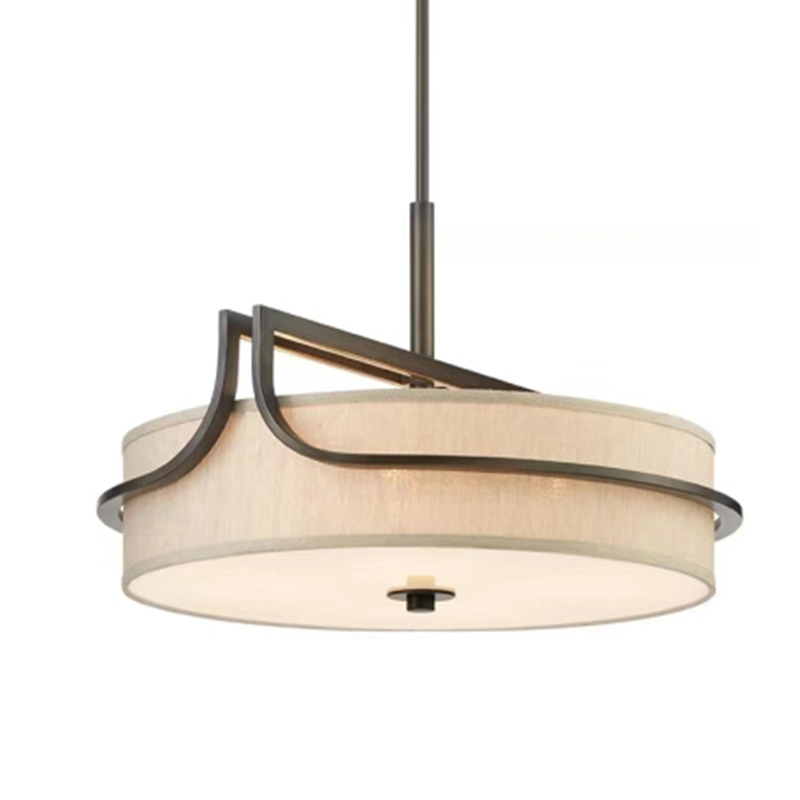
How to Install a Table Lamp?
Table lamps are essential lighting tools for the home. Let's take a quick look at how to install a table lamp.
1. Determine the installation location
First, decide where you want to place the table lamp. This could be on a desk, nightstand, or anywhere else you need a light source. Make sure it's near an electrical outlet.
2. Prepare the cord and plug
Find a cord of the appropriate length; this is usually provided with the table lamp. Check that the plug meets the electrical standards in your area.
3. Install the lamp base
Typically, the lamp base screws onto the lamp socket. First, remove the screws from the lamp socket, insert the lamp base into the socket, and tighten the screws. Make sure the lamp base is securely fastened.
4. Connect the wires
Thread one end of the wire through the lamp socket and connect it to the wire post on the lamp base. Connect the wires by matching the colors; typically, the red wire goes to the positive terminal and the blue wire goes to the negative terminal. Use a screwdriver or wrench to secure the connection.
5. Install the lampshade
Insert the lampshade under the lamp base and secure it with the screws, making sure it is securely fastened to the lamp base.
6. Insert the plug
Insert the other end of the plug into an electrical outlet. Before inserting the plug, make sure the power switch is off.
7. Test the lamp
Turn on the power switch and test whether the bulb lights up. Once everything is working properly, you can start using the lamp.
Important Notes
1. The installation steps may vary for each lamp, so it is best to read the provided installation instructions before use to ensure proper installation.
2. For safety reasons, it is recommended to follow electrical safety regulations when installing and operating the lamp.